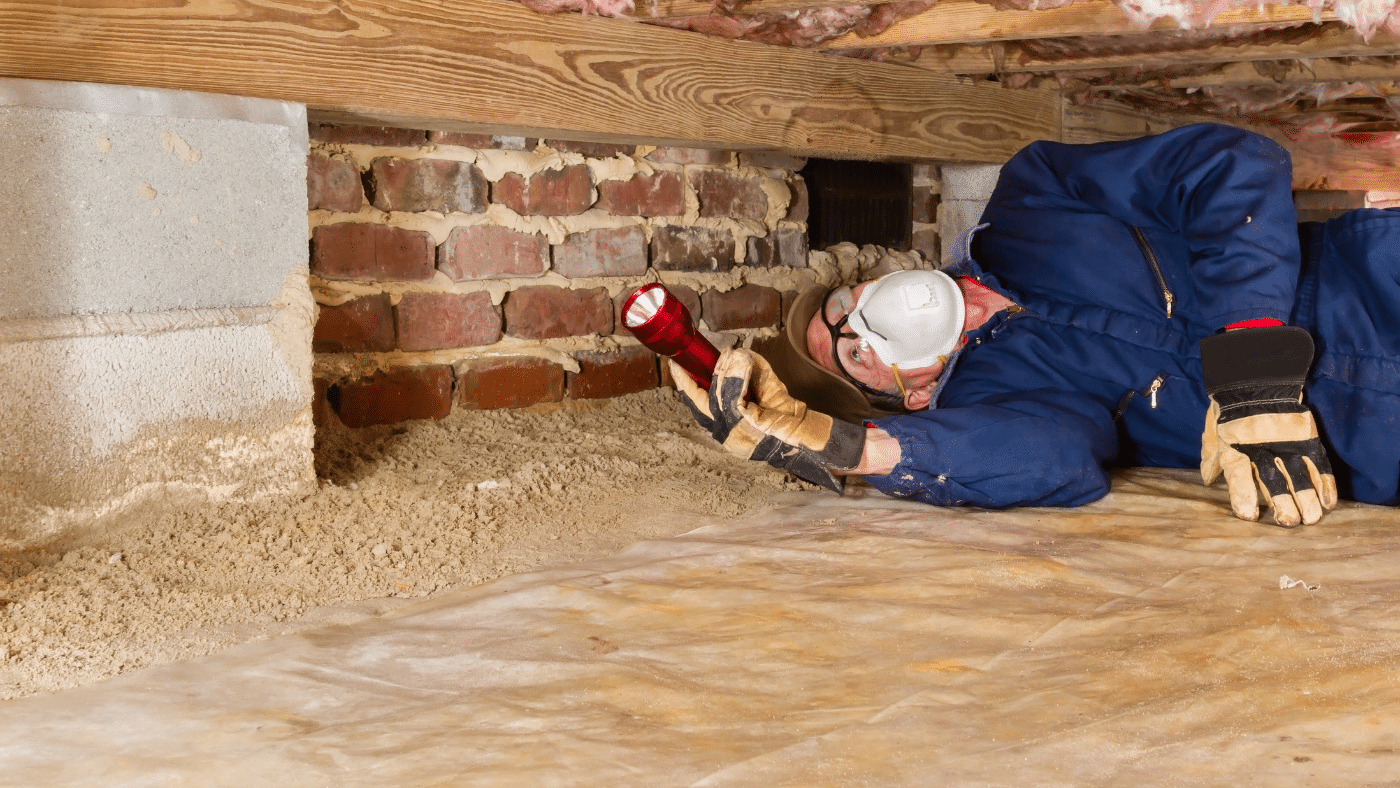
Being out-of-sight and therefore mostly out-of-mind, wood rot in crawlspaces can lie-in-wait until it becomes impossible to ignore. Prevention is, by far, the best practice as dramatic and expensive solutions are required to resolve issues once rot occurs. In this post, we discuss
- the most common causes of wood rot in crawlspaces
- common causes of wood rot in crawlspaces
- interior indicators of crawlspace rot
- how to analyze the issues when they manifest
- ways to avoid damage and need for repairs
What Causes Rot in Crawlspaces?
Simply stated, excessive moisture exposure is the primary cause of wood rot within a crawlspace. When excessive moisture lingers, conditions are ideal for wood to rot and eventually cause floor support conditions to deteriorate. Moisture management of and within a crawlspace is the best practice to avoid resultant detrimental conditions caused by moisture-related rot issues. While some of the causes may be obvious from a commonsense point-of-view, the cause-and-effect relationship of other issues may not be readily apparent.
- Inadequate crawlspace ventilation
- Inadequate cross-ventilation or air stagnation
- Ventilation blocked by errantly applied vent closures, painted screens or obstructions
- Regular wood too close to grade and/or the absence of moisture-resistive barrier
- Eave projection too close to a wall without gutters that can divert water from elevation
- Downspout discharge too close to building, so drainage is not diverted from elevation
- Condensate discharge too close to building, deposited too close or not diverted away
- Groundwater/surface-water drainage not adequately diverted away from structure
- Insufficient vapor barrier/membrane to alleviate moisture from high-water table
- Crawlspace floor below surrounding grade, with drainage gathered against exterior
- Moisture exposure causing moisture content of wood to exceed acceptable levels
- Moisture content of wood allowed to persist over a period of time and causing rot
- Allowing rot to manifest, until advanced decay/insect activity ensues and escalates
- Moisture from vapor drive or unmaintained seals through slab or exterior walls
Addressing crawlspace rot often involves fixing a portion of the structure. For this reason, proper design and layout coupled with prescriptive measures can help avoid rot in the first place. Most often, crawlspace conditions that create an environment where excess moisture may develop and linger are the result of
- improper construction or defective installation
- deferred maintenance
- and/or subsequent change of use/configuration in the vicinity of the space
It is important to employ best management practices to avoid the onset of rot-initiation conditions or in cases where rot does develop, help slow propagation and deterioration until prescriptive action can be taken.
Why is it Important to Pay Attention to Wood Rot in Crawlspaces?
Generally, major issues related to crawlspace wood rot develop in slow chronic ways that indicate the presence above in modest or subtle ways within interior finishes. Sometimes these modest and subtle effects will manifest in such a gradual way that we become accustomed to their presence. Only when these problems become acute, and we are compelled to explore crawlspace conditions do we see the extent of the problem – at which point repairs are likely to be complex and costly.
Signs Seen Above That May Indicate There’s an Issue Below
Even though directly beneath our feet, most of us are basically unaware of conditions within crawlspaces and ignore the issues or address them with aesthetic or cosmetic ways that mask intensity and seriousness of rot problems concealed from our view. Most often, we are only compelled to explore the crawlspace when signs above appear and indicated that the source of problems can be traced to the crawlspace.
Some of the more common signs above the crawlspace that there may be a problem below include:
- Over Deflection: A prevalent issue that piques our interest, causing us to rise to action, is when floors begin to over-deflect. Our visual observation of surfaces being out-of-level versus our visual acuity for out-of-vertical plumb differs substantially. While out-of-vertical plumb differential is easily spotted, our ability to view out-of-level directly at and across an isolated portion of in-plane floor surface is quite poor. Most of the time out-of-level (or out-of-planeness) of an isolated portion of floor is perceived via walking across a floor-top disparity and feeling/perceiving the surface differential. The good news is that indicators of over deflection can be measured and assessed by objective means.
- Gaps/Separation: Over-deflection can present itself with acute effects at interfaces of floor with base of walls/fixtures. In the out-of-plane direction, floors are relatively flexible when compared to rigidity of vertical items sitting atop, practically at a square right angle (i.e., perpendicular) to the floor surface. Usually, interior walls/furnishings and floors that are away from exterior perimeter elevations are not directly supported continuously by stem-wall foundation. In many cases, interior items and walls may be laying atop the floor (slightly attached), partially, if not mostly, across non-load-bearing infrastructure such as flooring deck with finish like floor tiles. These items and walls may span more rigid supports of the crawlspace such as stem-walls and beams rather than interim joists, causing interior walls/items to act slightly rigid themselves. This allows the base of a wall/item to stay relatively in-place while compromised support separates the floor from wall/item base, leaving a gap between top-of-floor and bottom-of-wall/appurtenance.
- Localized Failure: This manifests in different ways: cracking/separation, displacement/dishing, and/or breakthrough of flooring finish across rot-compromised wood decking and/or framed floor support. In addition, pronounced differential out-of-plane dislocation of flooring may be included in these aberrant conditions resulting from rot-affected floor support. In addition to the above issues, noticeably deteriorated/degraded and disintegrated flooring surface may happen. This condition can exhibit itself in a dramatic fashion, visually and/or as a tripping hazard, or via full flooring punch through.
Evaluating Wood Rot Issues from Above
Measuring Over Deflection: Usually, significant deflection is not directly visible in a specifically desirable fashion; therefore, relative-elevation measurement can be used to find the derived difference between a perimeter benchmark and interior points, providing an assessment of the flooring topside surface profile.
This process can be reconfirmed (checked) via secondary backup of measured pitch of flooring within the same subject extents in question for further analysis.
These methods are dependable in providing an objective and reliable means of obtaining the “mirrored”/“telegraphed” deflection of floor support below, through flooring finish.
Once validated, verified and processed, these data points can be put onto a sketch with the layout of rooms to show the extent affected, associations and relationships between data and structural features.
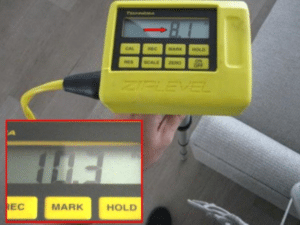
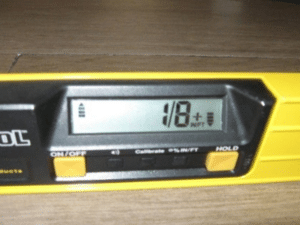
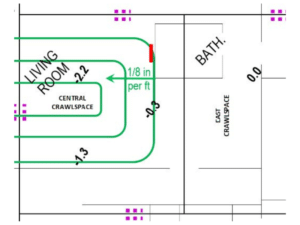
[Fig. 1]
Ideally, this layout will also capture information regarding
- other flooring characteristics
- the perimeter configuration
- other peripheral items of note
- proximity to sources of moisture
This will be overlaid onto location and configuration of crawlspace areas. These deflection and pitch values can then be compared to limits posed by various guidelines and standards for conditions falling outside of acceptable thresholds.
Gaps/Separation: Dislocations, discontinuities and voids can sometimes present themselves much more noticeably than a mere gradual elevation change or deflection differentials. A dislocation or discontinuity in flooring can be exhibited by a change, such as a drop-off or dislocation within the flooring itself.
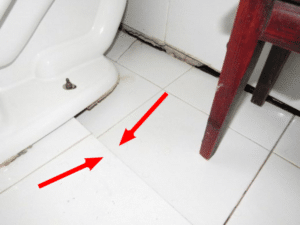
[Fig. 2]
Note that such a dislocation can be pronounced enough to yield a separation in flooring that exposes a gap beneath an interior wall. The location and limits of this dislocation and separation can be documented within sketches to show the proximity and configuration in relation to other noted surroundings. Often filler/items are stuffed into historical gaps between base-of-wall and top-of-floor.
Localized Failure: This occurs at isolated spots where there is an abrupt punch-through the flooring finish and floor decking.
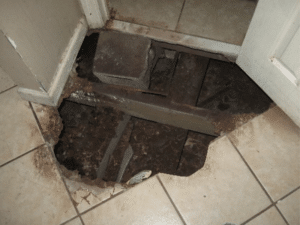
[Fig. 3]
Typically, such an acute breakthrough occurs when rot has manifested itself to such a degree within decking that direct local support cannot hold the force of a typical footstep. This is a good indication that rot that has occurred intensely in a localized area has manifested itself in a more general way throughout the floor support below the floor decking. This type of indication offers the side benefit of providing more direct access to the floor support framing for closer inspection; of course, caution should be maintained to avoid such failure expanding while onsite. It is not unusual to find layers of various flooring/decking sandwiched atop of historically rotted floor support/decking and the uppermost-exposed finish.
How These Causes Show Themselves
Some examples of evidence of common causes of crawlspace rot found in the field follow.
Blocked Ventilation: Today, prevailing building codes for a typical earthen-floor crawlspace require that every 150-square feet of horizontal (in-plan) crawlspace include at least one square foot of open-vent area vertically within the surrounding-enclosing perimeter-crawlspace walls to provide adequate air movement ventilation (keep air blowing across crawlspace). These vents also need to be installed at opposing sides of the structure to ensure adequate cross ventilation without obstruction at the vents and within the intermediate crawlspace extent in-between so proper airflow movement occurs. Vents need to be provided within three feet on each side of each corner (i.e., on either side on each corner on both walls) to alleviate areas of air stagnation.
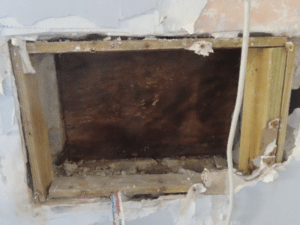
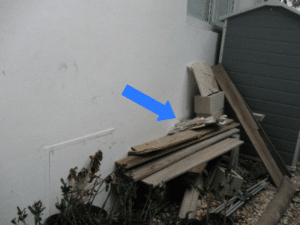
[Fig 4]
These vents must be covered with a cover grating/screen to prevent pest entry, while being open enough to provide adequate air movement through the vent. This last requirement is especially important, as regardless of the number of vents provided, they are useless if the airflow is blocked.
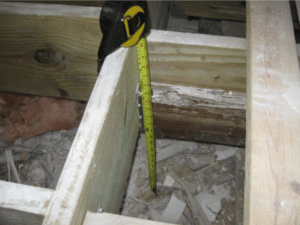
Regular Wood Framing to Close to Bare Soil: Modern codes have adopted good management practices to help guard against installing normal [untreated?] wood in undesirable environments. To help accomplish this, codes prescribe that unless wood is durable or preservative-treated, beams shall not be within 12 inches nor joists within 18 inches of bare earth not covered by vapor-resistive membrane.
[Fig. 5]
Also, when the crawlspace floor is within 5 feet of the water table, a vapor-resistive membrane should be provided regardless of the type of wood used. The best way to remember this constraint is that if you cannot crawl into the crawlspace, the wood support is likely too close to the exposed soil.
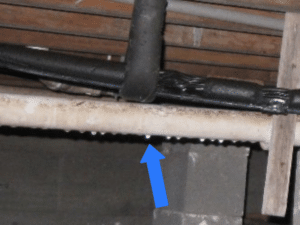
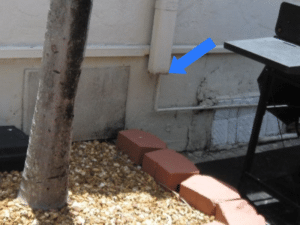
Drainage Too Close to Building: Contemporary codes require that drainage water – whether from rain, runoff or condensate – be deposited at least one foot away from the building, communicated (directed) away from the building and not allowed to impound up (pool) against the elevations. Allowing moisture to form, collect and accumulate within the crawlspace creates conditions for an imminent problem. Water entry into the crawlspace, including condensate from routed AC, refrigerant lines or plumbing, as well as leaks from water or waste lines that may introduce water into the crawlspace must be immediately addressed to prevent pervasive wood rot of the floor support.
[Fig. 6]
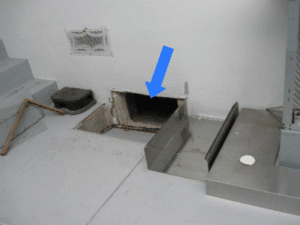
Crawlspace Below Grade: Contemporary codes now dictate that where drainage water does not readily move away from buildings or gets within 6 inches from the lowest floor level, the crawlspace floor needs to be at the same elevation as the surrounding grade. This keeps the crawlspace from becoming a dish/basin that draws water and general moisture into the crawlspace, helps avoid associated moisture accumulation in the wood materials that form the floor support and alleviates or abates initiation/exacerbation of rot formation within the crawlspace. For these reasons, it is essential that crawlspace evaluations focus not solely on the crawlspace but include assessments of the surrounding drainage regimes of the exterior grade, e.g., consideration of roof and downspout discharges regarding their distance from building.
[Fig. 7]
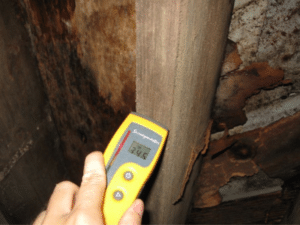
Wood Moisture Content Too High: Ultimately, the goal is to avoid the aforementioned situations and reduce moisture (i.e., water or vapor) entry into the crawlspace, reducing the moisture content of the wood supports of the interior floor above. Per most contemporary/current code requirements or best management practices and standards as well as scientific research, when wood moisture content reaches 19% or above, and it cannot dry, wood rot will begin.
[Fig. 8]
This can expand throughout the support system over time and compromise the structural integrity of the wood floor within the crawlspace. When this occurs, effects will manifest themselves via previously discussed indicators. Once rot has compromised floor strength, replacement is needed.
How Do You Avoid Damage and Repair?
Once rot within the crawlspace manifests itself, simple repair is unlikely. Due to the likely compromising effects on the interior and intensity of compromised materials within the crawlspace, it will be nearly impossible to stop the spread of rot and the progression of interior damage and other resultant deleterious effects. The probable solution is to remove and replace the rot-affected materials and then address the interior issues. The replacement of rotted wood and the mediation of interior issues should be managed in conjunction with actions to address the primary causes of rot initiation; employing methods prescribed in contemporary codes to reduce the likelihood the moisture can enter the crawlspace.
To learn more, contact Christopher Smith PE


